Do you want to add a heatmap to WordPress sites? Check our detailed guidelines to get started easily with some very simple steps.
One of the best ways to make business decisions and maximize revenue is to understand your visitors’ behavior on your website. You need to know what visitors are looking for on your website, how they are interacting with your website content, where visitors are spending a long time, and more. To do all these, you need an analytics tool that provides a heatmap and other relevant insights.
We have explored and found that Microsoft Clarity has heat maps, session recordings, and other insights. Luckily, there’s a WordPress plugin for Microsoft Calrity on the WordPress repository to set it up on your WordPress site.
In this tutorial, we will showcase how to add a heatmap to WordPress sites with Microsoft Clarity and help you understand your visitors’ behavior in a better way.
What is a Heatmap?
A heatmap is a visual presentation of visitors’ activities on a website. User interactions on a website such as clicks, taps, scrolls, and mouse movements are presented on a heatmap in a visual display. You can understand how visitors are interacting with your website with some colors depicting users’ actions.
How Heatmap Can Help You Improve Your Website and Business
The regular analytics tools you use like Google Analytics or any Google Analytics alternatives give you metrics about which pages users visit and where they come from. They lack detail on understanding how users interact with those web pages. Heatmaps in this case can provide you with a more comprehensive overview of how visitors are really behaving on your web pages.
Here are some of the benefits of using a heatmap for your website!
- You can understand the baselines for the user experience with a heatmap on your website and use them to compare changes
- Heatmaps help you access and validate content ranking on web pages.
- You can determine the optimal line length for a page with Scroll depth and evaluate if your page is too long. It is very valuable for mobile screens.
- Heatmap highlights what is valuable and isn’t when you have limited resources.
Apart from these, there are many ways a heatmap can help your website and business. So, it is better to add a heatmap to WordPress sites and understand visitors’ activities.
What’s the Best Heatmap Solution for WordPress Sites?
We have analyzed heatmap tools available on the internet and found Microsoft Clarity as one of the best ones to add a Heatmap to WordPress sites. With the Microsoft Clarity WordPress plugin, you can check the highlights of the data on your WordPress dashboard.
Besides heatmap, Microsoft Clarity provides session recording, user insights, and some other metrics that are very helpful in understanding your visitors and improving your website and business. Microsoft Clarity heatmaps have no creation delay. Heat maps return within a matter of seconds.
The aggregated data helps quantify behaviors and trends. Also, this data helps you identify what content is working best for your web pages. Most importantly, It is a free service forever. You will never run into traffic limits or be forced to upgrade to a paid version with Microsoft Clarity and the WordPress plugin.
How to Add a Heatmap to WordPress Sites Easily
Follow each of the steps below to set up Microsoft Clarity easily with your WordPress site and add a heatmap to your WordPress site easily.
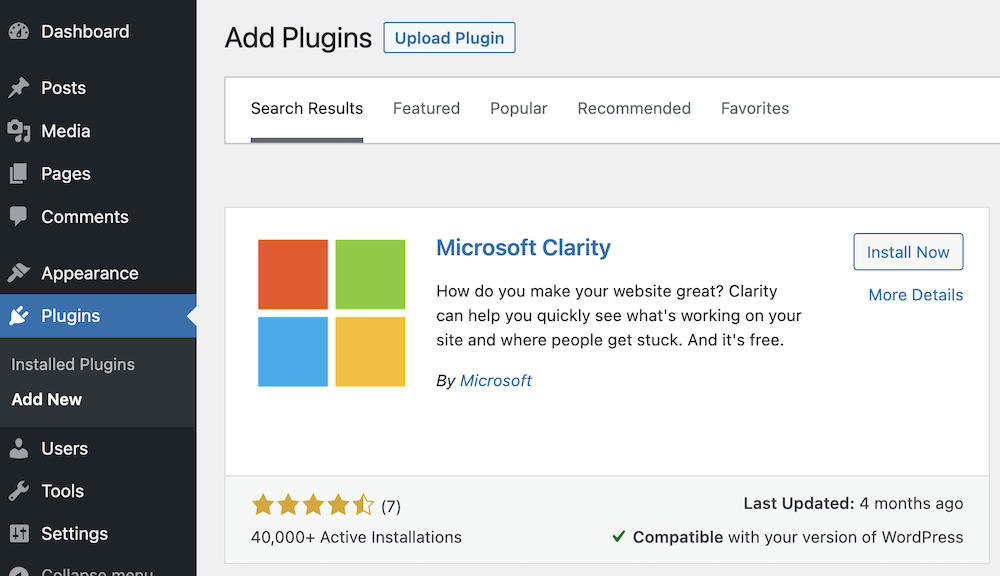
Step 1: Install the Microsoft Clarity WordPress Plugin
Go to your WordPress Dashboard > Plugins > Add New. Search “Microsoft Clarity“, click on Install Now, and Activate subsequently once they appear.
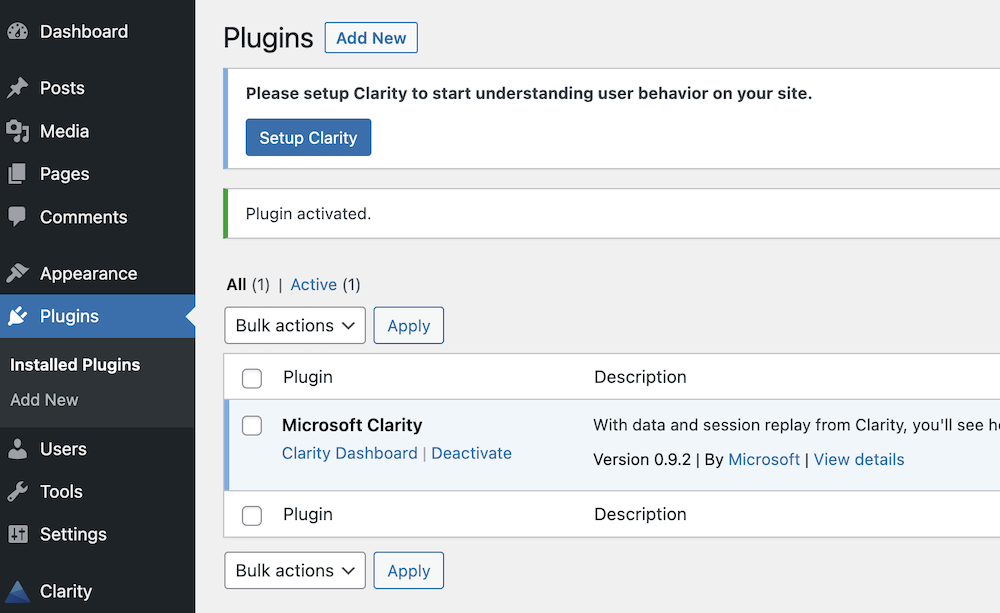
Step 2: Set Up Clarity on Your WordPress Dashboard
Once the plugin is activated, you will see a notice on your dashboard as “Setup Clarity”. Click on the button to start understanding user behavior on your site.
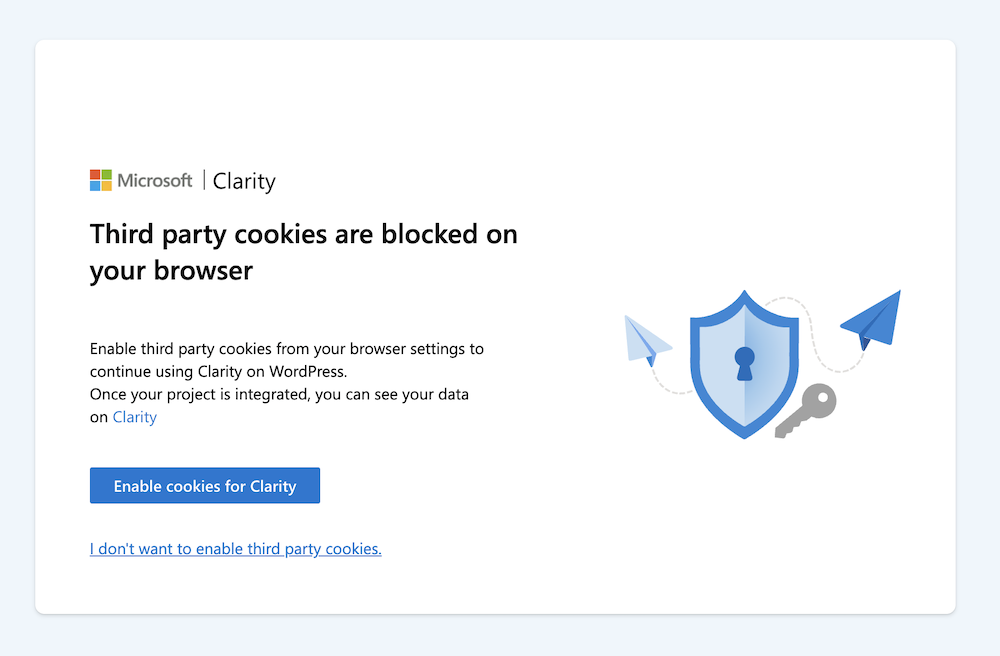
You will be taken to the Clarity setup wizard, you will be asked to enable cookies for Clarity, you can click on “I don’t want to enable third-party cookies.” to get started too.
On the next page, you need to provide a Clarity Project ID to get started.

Step 3: Create a Clarity Project on the Microsoft Website
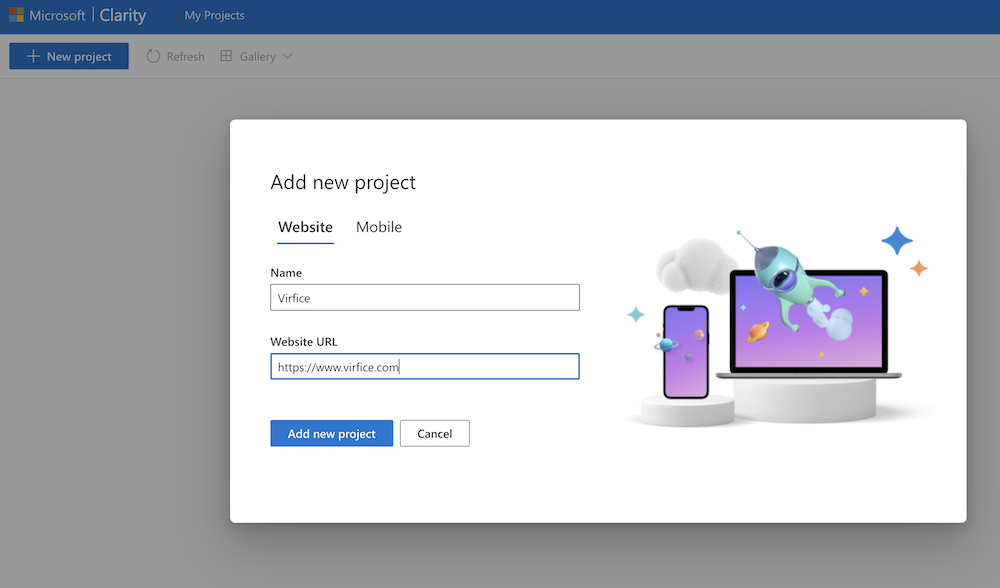
Go to https://clarity.microsoft.com. Sign up for Clarity. It is free. Go to https://clarity.microsoft.com/projects, and create a project just by giving your website name and URL. Click on Add New Project and you are done.
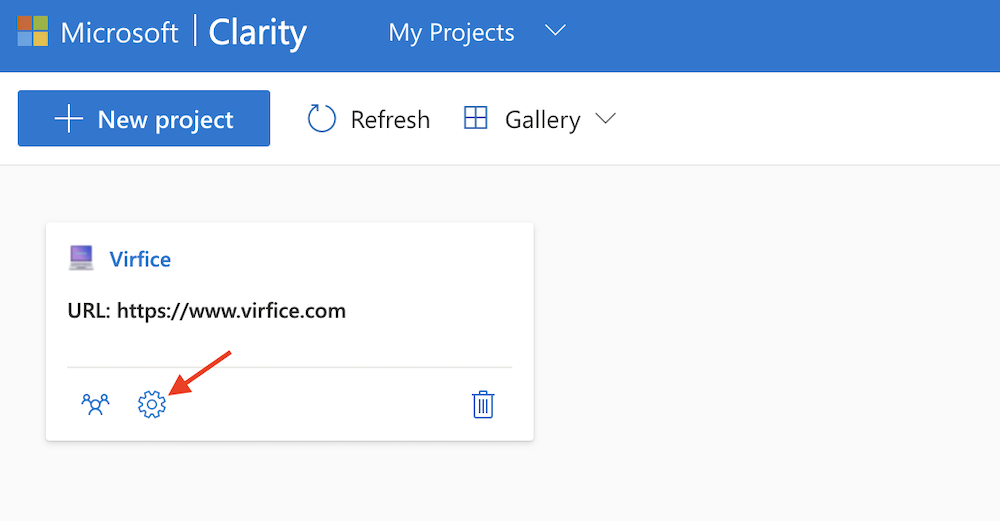
Now go to https://clarity.microsoft.com/projects and open your project settings
You will find the Project ID at the bottom of the Overview section of your project settings.
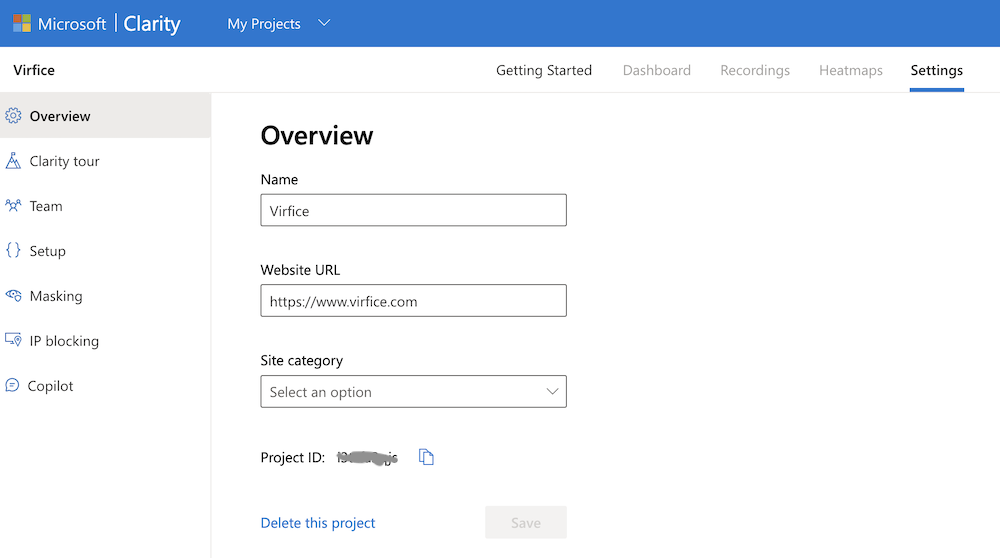
Copy the Project ID and paste it into the Clarity project ID field on your dashboard. And click Update.

You are done. It will take a bit of time to get your data loaded on your site. But, once visitors are on your site you can see what they are doing. And sessions will be recorded for you.
Check Visitors’ Activities on Clarity
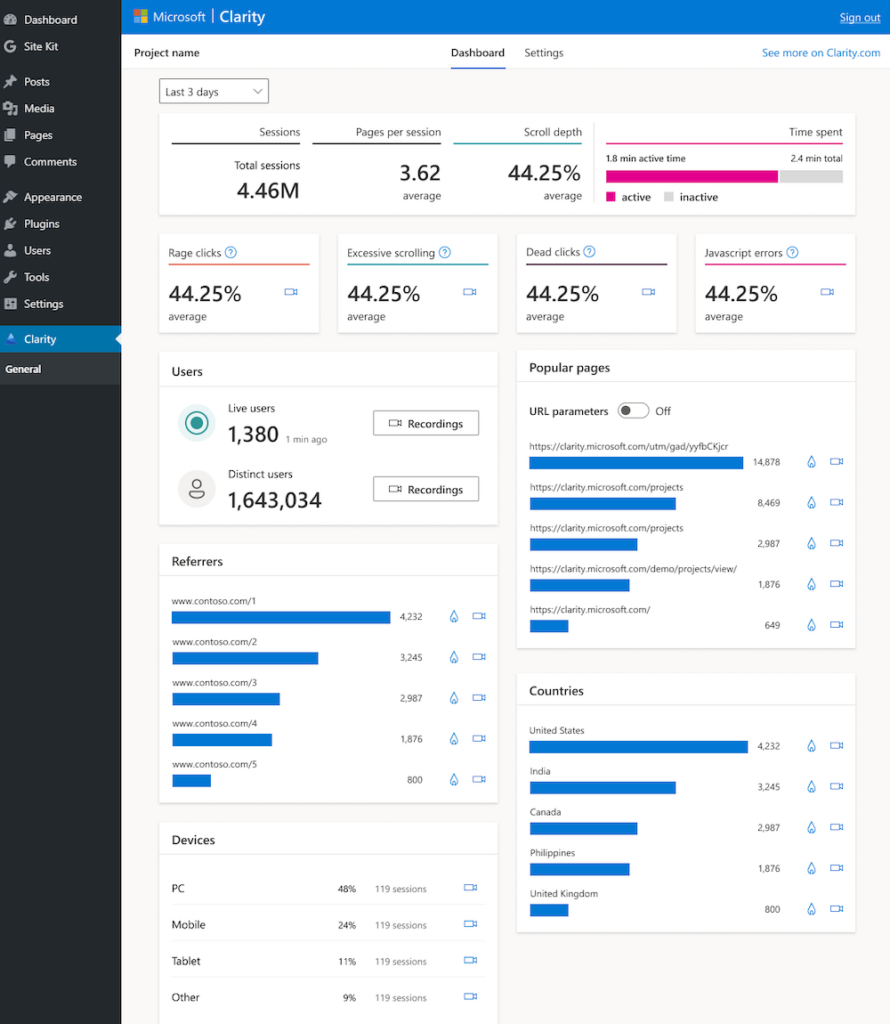
When you are signed in, go to your project dashboard, and you will see your visitors’ stats, activities, live interactions, heatmaps, and recorded sessions there.
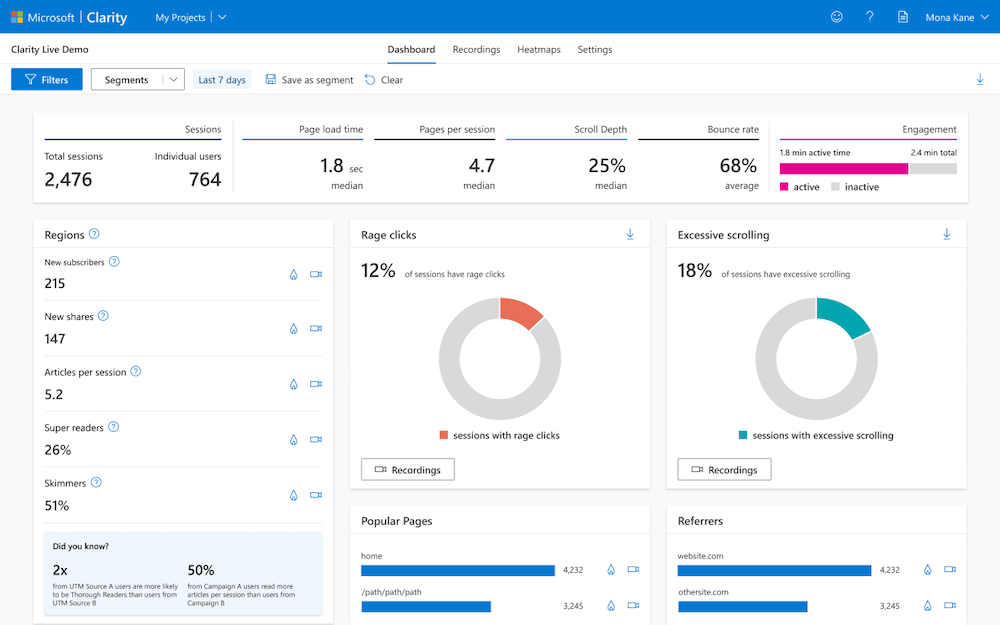
Check Your Website Heatmap on Clarity
Sign in to your Microsoft Clarity account, go to https://clarity.microsoft.com/projects , Click on your project, and hit on Heatmaps. Check heatmaps on all available pages on your site.
You can also check website stats on your WordPress Dashboard too. To do that, go to your WordPress Dashboard > Clarity. You will see highlights of your website stats there. You will find links to the deeper stats like session recordings and heatmaps there.
Check Session Recordings on Microsoft Clarity
Play a recorded session or watch a live session to see how users are interacting with your web pages. You can see how they scroll, where they hover, and where they click on your web pages.
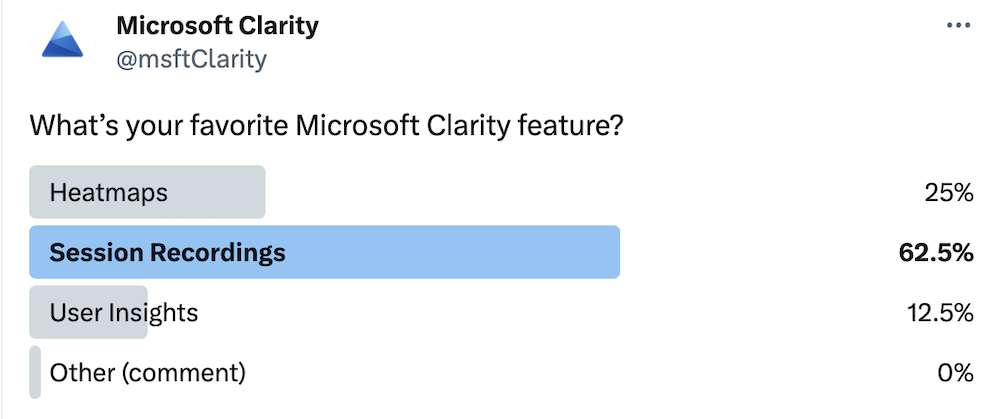
You would be happy to know that session recording is one of the people’s favorite features of Microsoft Clarity. Many people love it over Heatmap.
You need to know how visitors are interacting on your website. Without understanding the behavior of the website visitors, it is hard to make business decisions. A heatmap in this case can help a lot. In our tutorial, we have described how you can add a heatmap to WordPress sites with a heatmap of Microsoft Clarity. Also, we have mentioned some other useful features and metrics of this free too.
We hope this tutorial will be helpful for you. Stay in touch for more.