The system of categorizing posts in WordPress lets you organize posts and helps visitors navigate through posts of similar categories. You can create parent and child categories, making a hierarchical arrangement of your posts possible. Also, a single post can fall under multiple categories.
Categories in WordPress play a great role in organizing posts on a website. It has plenty of uses. Today, we will show you how to create categories in WordPress.
What is the Category in WordPress?
The category is one of the pre-defined taxonomies in WordPress. It sorts and groups content into different sections for easier navigation.
Categories offer a helpful way to group related posts together. On the basis of the theme and widgets you have activated, categories can be used for the following cases.
- On your menu to organize website posts.
- In the available sidebars or widget areas.
- To create category pages to display the posts assigned to that category.
How to Create Categories in WordPress?
Creating categories in WordPress is easy even for beginners. It is just about a couple of steps.
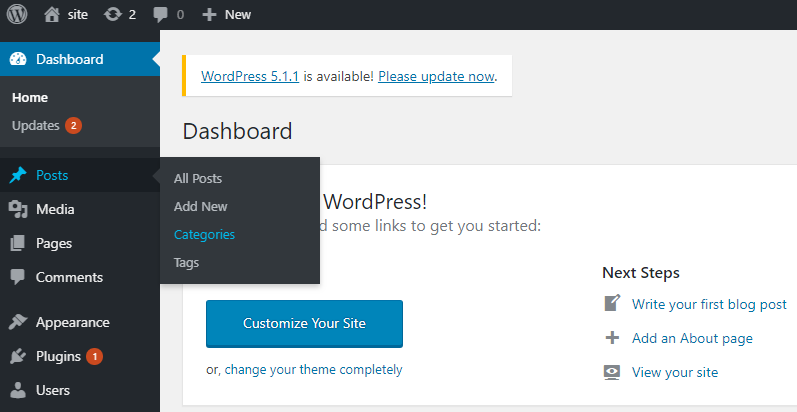
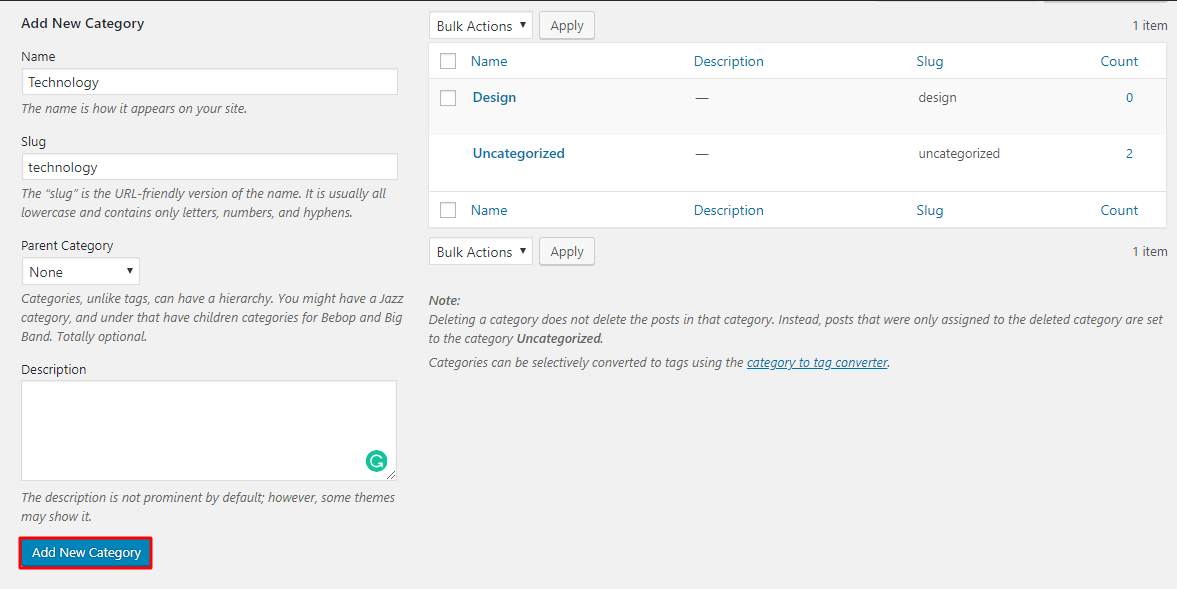
Step 1: Go to your Dashboard>Posts>Categories. You will be taken to a place where all previously created categories are displayed with their details.
Step 2: There’s also a form to add a new category on that page. Give the new category a name, slug, assign the category to a parent if you want that to be a child category, and add a description
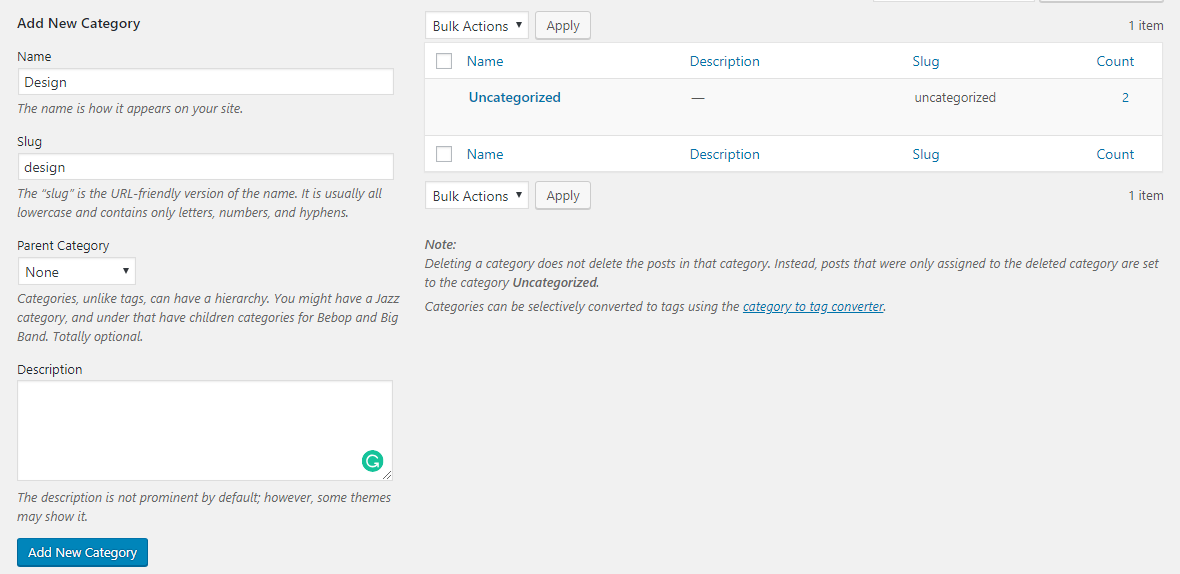
- Name: The name is how it appears on your site.
- Slug: The “slug” is the URL-friendly version of the name. It is usually all lowercase and contains only letters, numbers, and hyphens.
- Parent Category: Unlike tags, categories can have a hierarchy. You might have a Jazz category, and under that have children categories for Bebop and Big Band.
- Description: The description is not prominent by default; however, some themes may show it.
Step 3: Once you have filled out the form with the required details just click on the Add New Category button at the bottom.
With that, you are done creating your category. Once done the new category will be displayed at the top of the main list on your left.
How to Edit Categories in WordPress?
You can modify the created categories at any time just by clicking on edit under each category name.
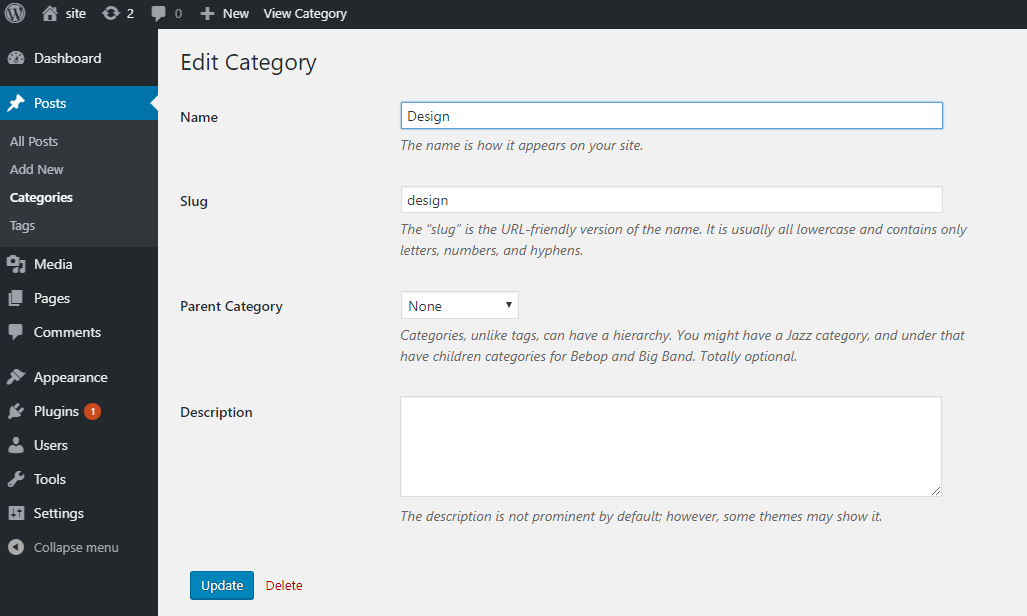
Go to Posts > Categories. Find the category name and hover over the names to display the Edit, Quick Edit, Delete, View options. Click Edit, Change the category name, change the category Slug and add or change the category description. Finally, click Update.
This is how you can create and update categories in WordPress. Categories play a major role in managing contents smartly. Since the WordPress website is all about pages and posts, placing them in different categories would help you manage site easily. Hopefully, our step by step tutorials would help you create and update categories as you need. For more of this kind of tutorials, do visit Virfice regularly.